Adding New Events
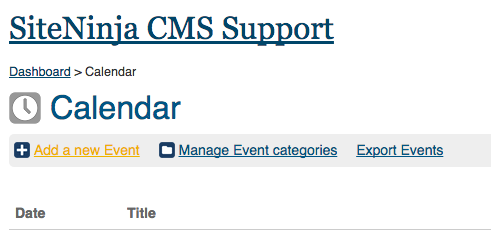
1) Click Calendar (or Events) & calendar icon (top blue dashboard)

2) Click "add a new event"
3) Enter Required Fields
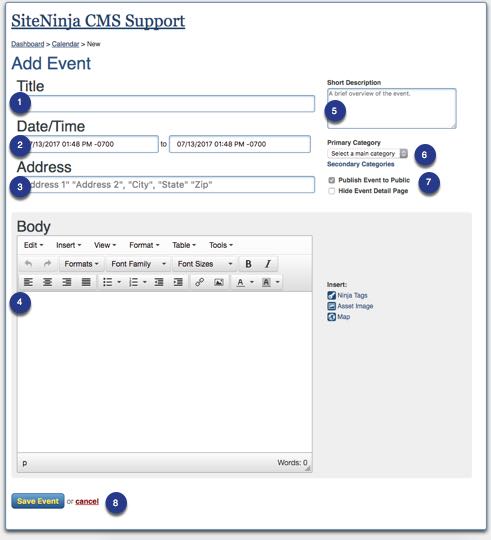
Add title: The Title of the event is best SEO'd if it contains : the name of the event + location of the event + Month of the event. The Event Title creates the Page Title, the URL and the H1 Heading on the page, which are the top 3 highest value places Google looks to optimize the page.
Add Time of Event: (the -0700 refers to the adjustment to Greenwich Mean Time -- do not change)
Add Address: Type in name of Event Location (if possible) as well as location address in Location field -- this generates a Google Map and a location name is helpful to your site visitors.
Add Body Content: Describe the Event. Add a link to the URL where tickets can be purchased, or client can register, if applicable. Make sure the link has the keywords in the link, like this listing for a concert: Purchase The Who Tickets from the Santa Barbara Bowl . Adding keywords in the link boosts the value of the link. Also, linking to a high Domain Authority website, like the Santa Barbara Bowl, helps boost the Domain Authority of your site. You can also add downloadable PDFs, but this is not as SEO friendly.
Complete the Short Description Field: This is the META Description for the event, and recommended by Google. Should be in sentence format.
Assign a Primary Category to your Event by clicking on “Select a main category” and then clicking on the category you want in the dropdown options.
Assign a Secondary Category (optional)
The default setting is to publish the Event immediately. If you prefer to keep the event hidden for now, uncheck the “Publish Event to Public” box.
Scroll to bottom of page and Click on “SAVE” button!
To add an image to an Event:
- Re-open the event
- Select Attached Image (right hand menu)
- Follow the steps outlined here for adding an image to a page
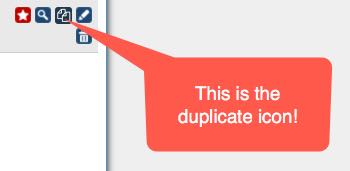
To Duplicate an Event:
Click on "Duplicate" icon, make desired changes in the copy of the event, then make sure to save your new event!